Rotational Molding Process
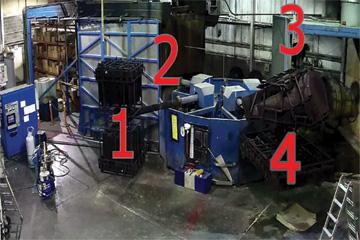
The rotational molding process is often described as a ‘black art’ by many of those with knowledge of the process, but in reality the rotomolding process is a combination of science, chemistry, black art and lots of experience with the process. Rotational Molding incorporates a multi-step process using pulverized polymer materials, typically as a powder, which is loaded into a mold, which in turn is sent into an oven where the mold spins bi-axially on a PLC controlled arm, rotating slowly in effort to achieve a uniform wall thickness. The rotational molding process is used to produce hollow, seamless, one-piece plastic products for a never ending list of industry and applications.
Rotational Molding, Rotomolding, rotocasting or Rotational Casting are all interchangeable synonyms for the process. Regardless of which synonym you choose to address the process, manufacturing process does not induce any pressure into the manufacturing process unlike other plastics molding processes such as injection molding, thermoforming or even blow-molding. Because of the lack of pressure in the process, Rotationally Molded Products are far more durable than products produced from the other molding processes, namely injection molding, compression molding, blow molding or vacuum forming.
Rotational Molding Process Video
In the video above, Alli provides a detailed explanation of the complete rotomolding process. She explains the multi-step process of charging the molds with materials, also known as the shot weight, oven cycles, pre-cooling & cooling and unloading the molded product from the mold. Learn details of each step of the way and improve your knowledge of one of the most durable plastics manufacturing processes!
Already watched the rotomolding process video above? Looking to learn more about the rotational moulding process? Read more details about the process below!
Rotational Molding Process Explained
The rotomolding process is a multi-stage process, used to produce and create durable, polymer based products for a large, growing number of OEMS, manufacturers and companies alike. Lets take a look at the steps of the plastics molding process!
Stage One: Loading the Mold
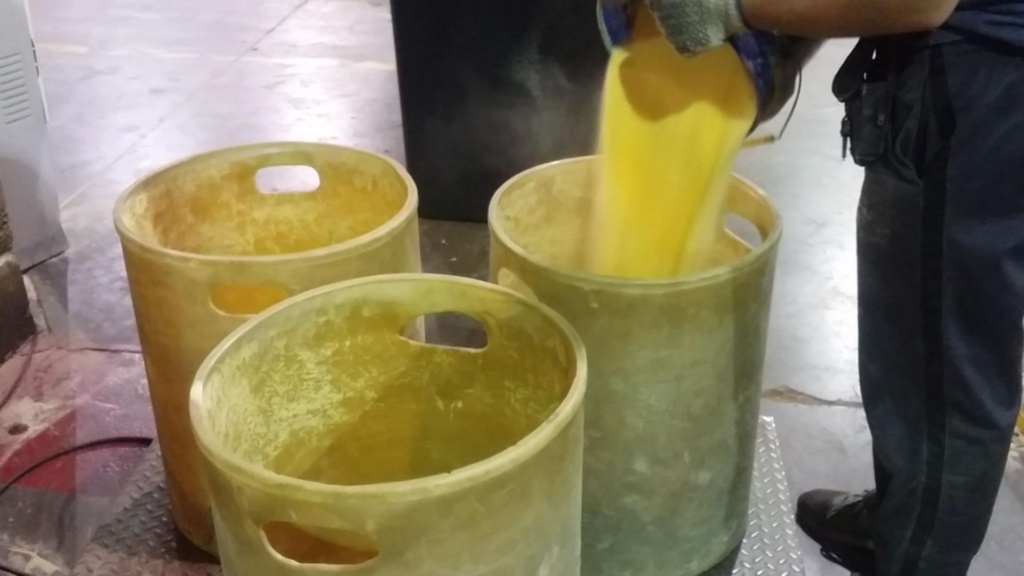
The mold is opened, vent tubes checked to be in place and any other necessary components are installed, such as threaded molded in inserts, mold-in graphics or any other molded in features necessary as specified by the customer for a succesful, high quality custom rotomolded product. Pulverized resin, is loaded into the mold. The mold is then closed up using clamps or mechanical fasteners installed on to the mold. the mold is then rotated outside of the oven to ensure there is no leaks or spillage.
Stage Two: Oven Cycle
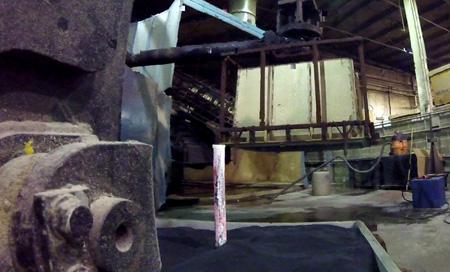
With the mold closed and secure, the arm is indexed into the oven where the mold will rotate bi-axially at a controlled speed pre-set into the machines computer, sending a signal to the arm through a PLC controller. The molds are heated in the oven as the arm continues to rotate for a pre-set length of time. Most rotomolding companies operate their ovens cook cycles in the 500 to 650 temperature range. Some may cook at higher temps in effort to reduce cycle times. Cycle times are critical to rotomolding, as overcooked and undercooked products are generally scrap, as they do not have the physical characteristics of a quality cooked, rotomolded product.
Stage Three: Pre-Cooling & Cooling
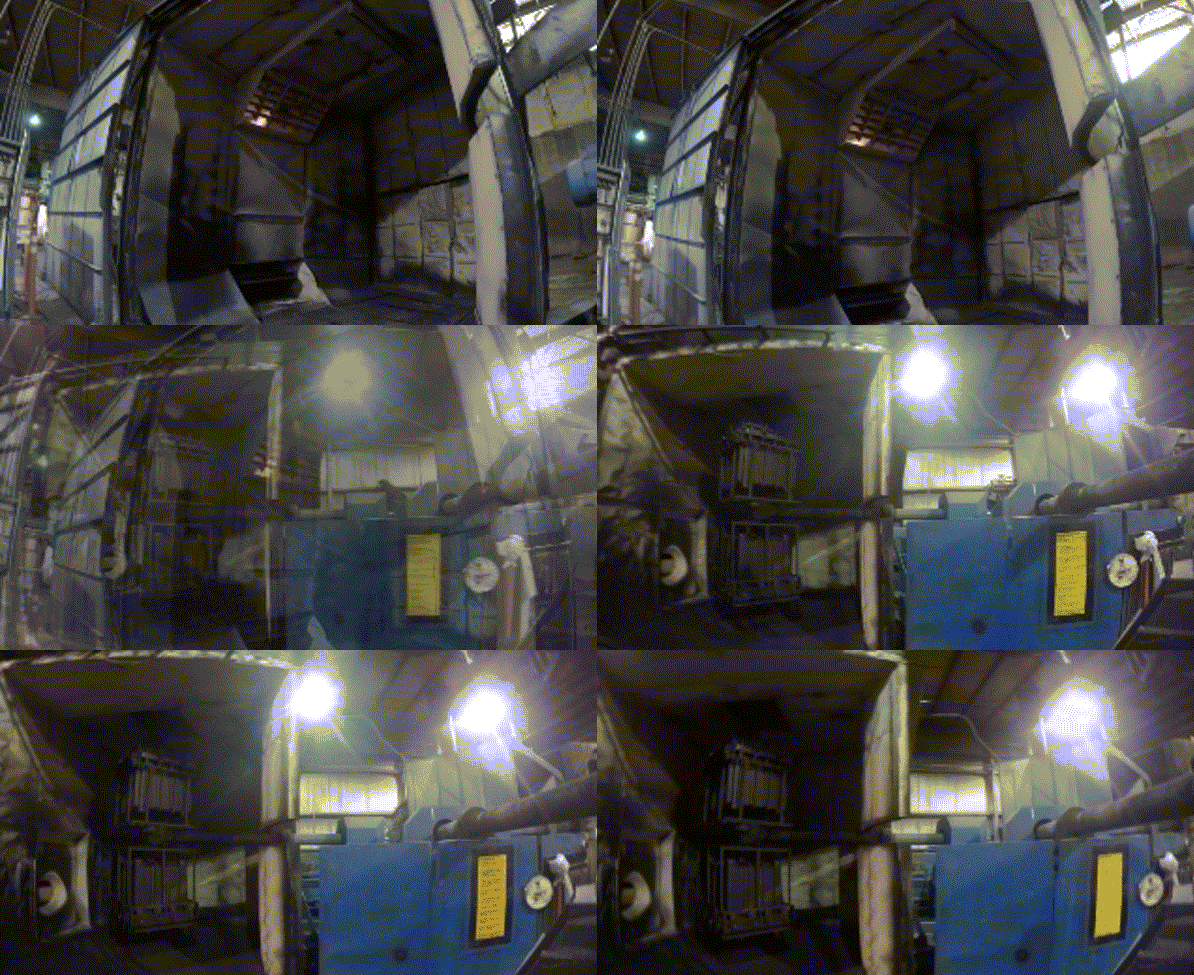
The pre-cooling and cooling cycles are an integral step to any rotationally molded products. It is the cooling process that is critical to final product dimensions, warpage and a number of quality aspects in rotational molding or custom rotomolding. The mold begins the cooling cycle, usually being cooled by ambient air, fans or a mixture of both as the mold continues to rotate in the pre-cool station. After the predetermined duration of the pre-cool cycle, the mold moves into the cooling chamber where it is cooled by air, water spray or a combination of both. The mold continues to rotate as the cooling cycle takes place. The cooling cycle is typically some comparable duration to the cook cycle, which is why production volumes of the rotomolding process are not as significant as other plastics production processes such as injection molding or blow molding, as the cook cycles and cool cycles can range from just 15 minutes to nearly an hour for some heavy wall, complex rotomolded products.
Stage Four: Unloading Rotomolded Product from Mold
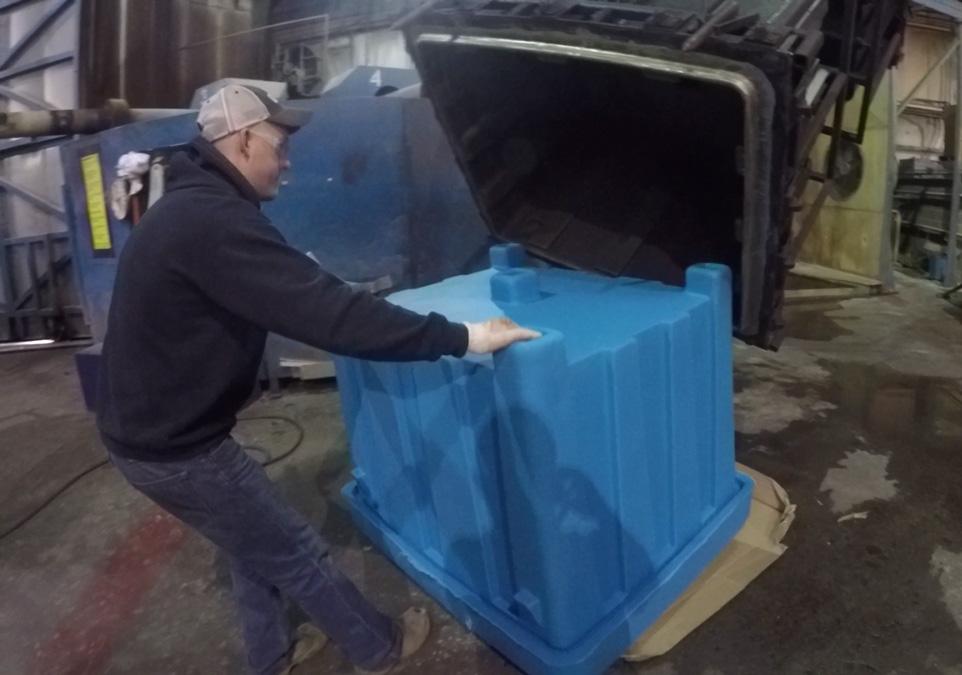
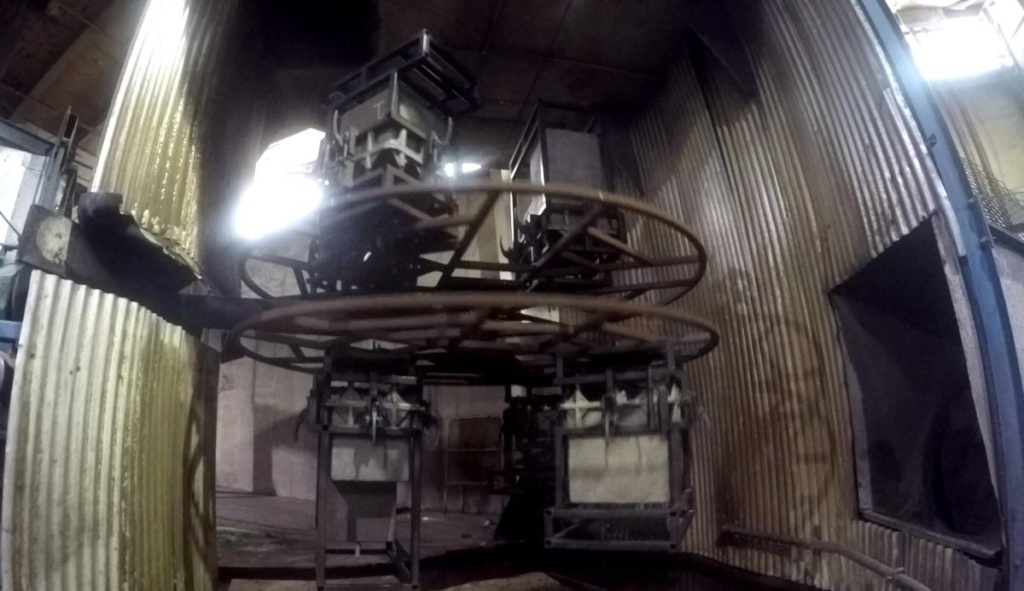
Once the cooling cycle is complete, the arm is indexed out of the cooling chamber, where the molds will be manually opened up by the machine’s operators. With the molds at optimum temperature for product removal, the mods are opened up and the molded product is removed from the mold. The mold is then prepared again to begin the rotomolding process all over again and the product is sent for quality inspection, secondary assembly and/or packaging contingent upon the customers specifications and requirements.
