Rotational Molding Design
Designing a product for the rotomolding process requires experience and knowledge of the nuances and parameters of the manufacturing process used to produce incredibly durable hollow parts. Those familiar with the rotational molding process are usually fans of the durability of the final products. Rotational Molding lends itself to producing durable hollow and even double walls parts, all contingent upon the design, expected functionality and performance of the product or component.
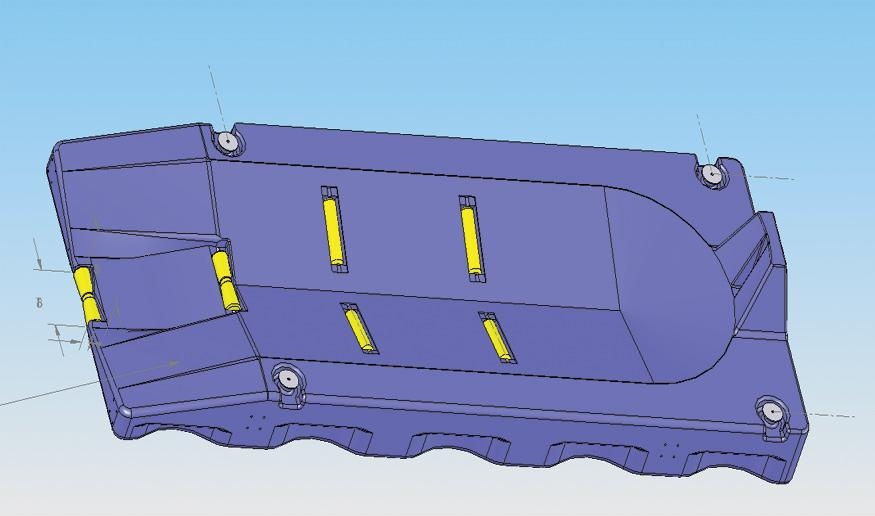
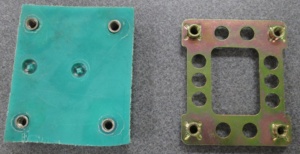
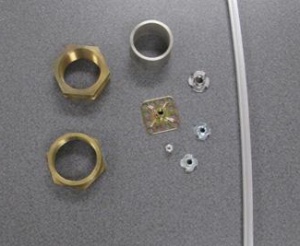
Unlike some other plastics manufacturing processes, rotomolding will allow for special features to be incorporated into the design of the product. Special feature options such as molded-in threaded inserts and fittings, molded in aluminum features such as extrusions, large threaded fittings or even molded-in steel tubing, bushings and more.
 |  |
Because there is little to no stress involved in the rotomolding process products can be subjected to various industrial or abusive environments. A great example of a rotationally molded product that can withstand extreme abuse is the Granger ISS Tornado Shelter door. This door exceeds FEMA 320, FEMA 361 and ICC 500 debris impact standards. Watch in the short clip below how the door safely withstands the impact of a 15 pound 2×4 at 100 miles per hour!
A number of rotationally molded products have been designed to incorporate a urethane foam filling for additional strength and insulating capabilities to some parts and products. As an example, the ever popular growing number of rotationally molded coolers have incorporated various different types of secondary urethane foams to the products for insulating purposes, which allow for the coolers to hold ice and cold products for extremely long durations of time, some coolers can even keep the ice cold or frozen for days on end. Other foam filled rotomolded products include spine boards, jet ski docks, dock floats, buoys, pallets, material handling trays, doors and more!
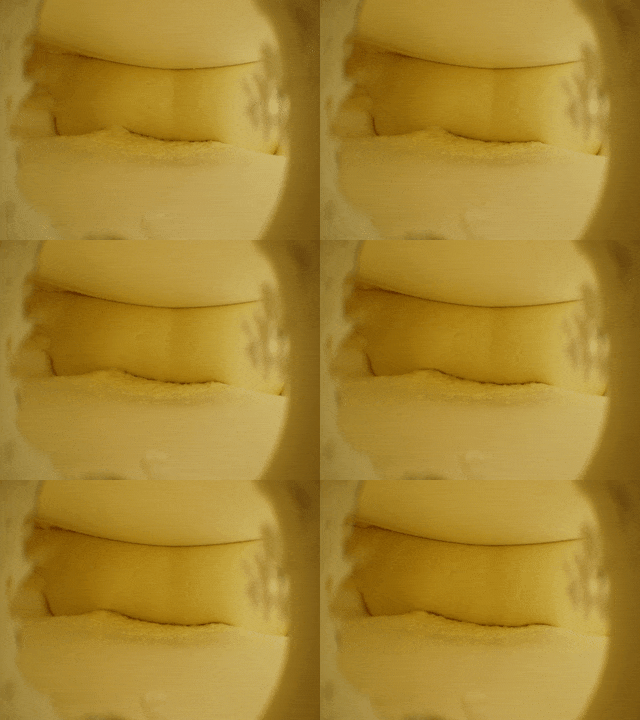
Urethane foam rising inside of a double wall rotomolded part
Rotomolding allows for features or shapes in the design to seamlessly blend. Curves and transitions are accomplished in the rotational molding design process, allowing rotomolded products to have great geometric shape to enhance a products beauty and aesthetics while adding strength and durability. Structural ribs and kiss offs may be added to the design to increase strength and rigidity while angles and shapes can be added for further enhancement of the overrall strength.
Additional features such as spin weld fittings, bulk head fittings, mold in graphics and even post mold graphics are all features that can be incorporated into a rotomolded product design. Throughout the design process, take all desired features and functions into consideration as the design is being completed, as this could potentially eliminate the additional cost, time and headache of needing to have the molds modified once the tooling or the molds for rotomolding are completed.
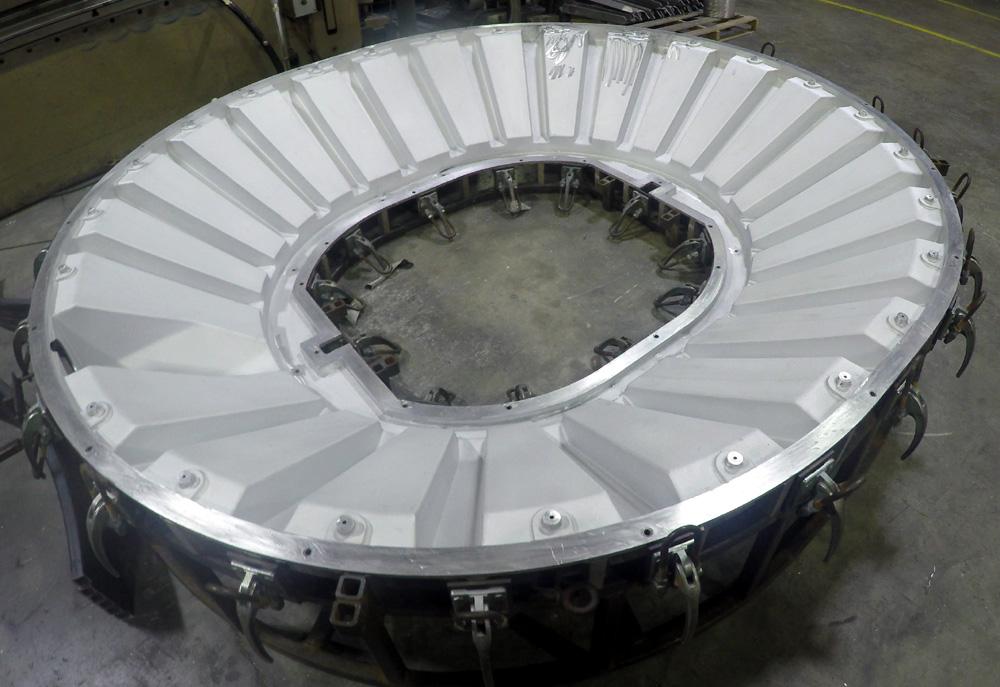
With the design for the products completed and signed off on, the next step is to have a tool or mold built for the rotational molding process. Most molds for rotomoulding are either cast from aluminum, fabricated from aluminum or steel or machined from an aluminum billet.
Some molds for rotomolding can be designed to house multiple chambers or cavities, thus producing multiple parts in a single round. How well the mold is designed and the quality focus of the mold construction will greatly dictate the quality of the part produced from the mold.
A true rotomolding expert can walk a client through the entire process from concept, design, any necessary design changes, mold fabrication, rotational molding process, trim & assembly, packaging and even future inventory scenarios. In most rotomolding scenarios, it is ideal to have as many of these elements as possible in a single location in effort to minimize costs and maximize operations efficiencies.
Rotomolding Design Issues To Avoid
Rotational Molding design experts can expose most all design issues inside of the initial design meeting, going over the features and functionality of the new rotomolding project. Generally with some education or direction, most design issues can be avoided, which may cause manufacturing or quality issues in production. Some of the most commonly experienced rotational molding design issues are listed below in effort to help you avoid these issues when working on your rotational molding project design.
Aesthetics
The design process for rotomolding is crucial to ensure that the aesthetics of the final product meets or exceeds the clients expectations. The repeatability of the aesthetics in a rotomold product design should be addressed in the early stages of the design process. It is important that all aesthetic considerations be carefully thought through as all of the rotomolding design stages are carefully inspected, as it is important to ensure that all of the details and features are quality captured to meet or exceed the customers expectations.
Draft Angles
Draft angles are a critical part of the rotomolding design process. Draft requirements for draft angles are crucial as they could potentially be the difference between a part having to be destroyed to be removed from a mold and a part that releases itself from the mold as it cools. Geometry, heavy texture finishes and even engraved features such as logos, warning text plates or gallonage markers could require additional draft angles in comparison to simple geometric shapes such as a block, cube or a cylinder, such as a vertical water tank. A general rule of thumb, engraved features such as logos or text can function successfully with as little as 3 degrees of draft while undercuts and protruding features may require as much as 5 degrees of draft.
Sharp Corners
One of the design issues that has the ability to plague many plastics manufacturing processes is sharp corners. Sharp corners should be avoided if at all possible during the rotomoulding design phase. Sharp corners tend to have the ability to minimize material flow through the mold during the molding process, which could cause voids in other areas, as the sharp corners tend to cause the material to not fill in properly where the material could not lay down or flow properly though the mold. Sharp corners also tend to create stress risers in the product, developing an area capable of failure or fatigue.
Because of the manner in which sharp corners are created in the design process, sharp corners become a production issue for the rotomolding process. Sharp corners should be be avoided if at all possible. Sharp corners typically will create a heat sink, an area that collects more heat than in other areas of the mold, thus building up thickers areas of wall thickness with thin inside corners.
Material Flow
Material for the rotational molding process is extremely different than for other plastics manufacturing processes such as injection molding, blow molding or compression forming. Material for the rotational molding process requires the polymer pellets to be pulverized to powder, typically a 35 mesh, where as injection molding requires the material to be in pellet form. The additional step in pulverizing the material to a powder is necessary for rotational molding. During the cook cycle of the process, the air that is caught between the polymer particles is being heated in effort to drive out all of the air. Because of the rotation in the process and the powder materials, getting the material to flow succinctly throughout the mold is a crucial step. An experienced rotomolding engineer should be able to see any potential “bridging” or “webbing” issues between wall surfaces, not allowing the material to flow through the mold properly. The restriction of the material flow will cause voids in other areas of the product.
A general rule of thumb to avoid material flow issues is for a minimum of 5 times the wall thickness between any walls, ribs or surfaces in the product in effort to avoid material flow problems.
Flat Walls
In the rotomolding design process, flat walls are possibly the most common of design issues that plague a rotationally molded product design. Long or large flat surfaces are a nuance to the process, as typically the rotomolding process is trying to form a hollow vessel, as typically the parts have little to no internal structure. Rotomoulding experts will know how to work with your design and desired features to avoid the large flat surfaces, by breaking up the large flat areas by adding geometry or structure to the product. This is often done by adding ribs, kiss-offs or even engraved text or logos to the surfaces.
The rotational molding industry has a standard shrinkage tolerance of 1%. Granger Plastics Company is one of the few rotomolding leaders that can hold a tighter tolerance on many applications through a multitude of practices. These shrinkage, warpage, cooling and other factors are all considerations that have influence on the final molded product. Industry standards for a flatness are ± .20″ per inch.
Designing For Rotational Molding
The rotational molding process has far more flexibility to accommodate the design of products and components or tooling that is required to produce products via rotational moulding. While molds or tooling can be modified once it is created, it is always beneficial to have the tooling as close as possible to the end desired result initially in effort to save time and money. Because of rotomouldings ability to change the wall thickness of the final product by altering the shot weight, or the amount of material placed in the mold without having to make modifications to the molds.
Rotational Molding Design Issues to Avoid
Download Rotational Molding Design Issues (PDF) by clicking below
